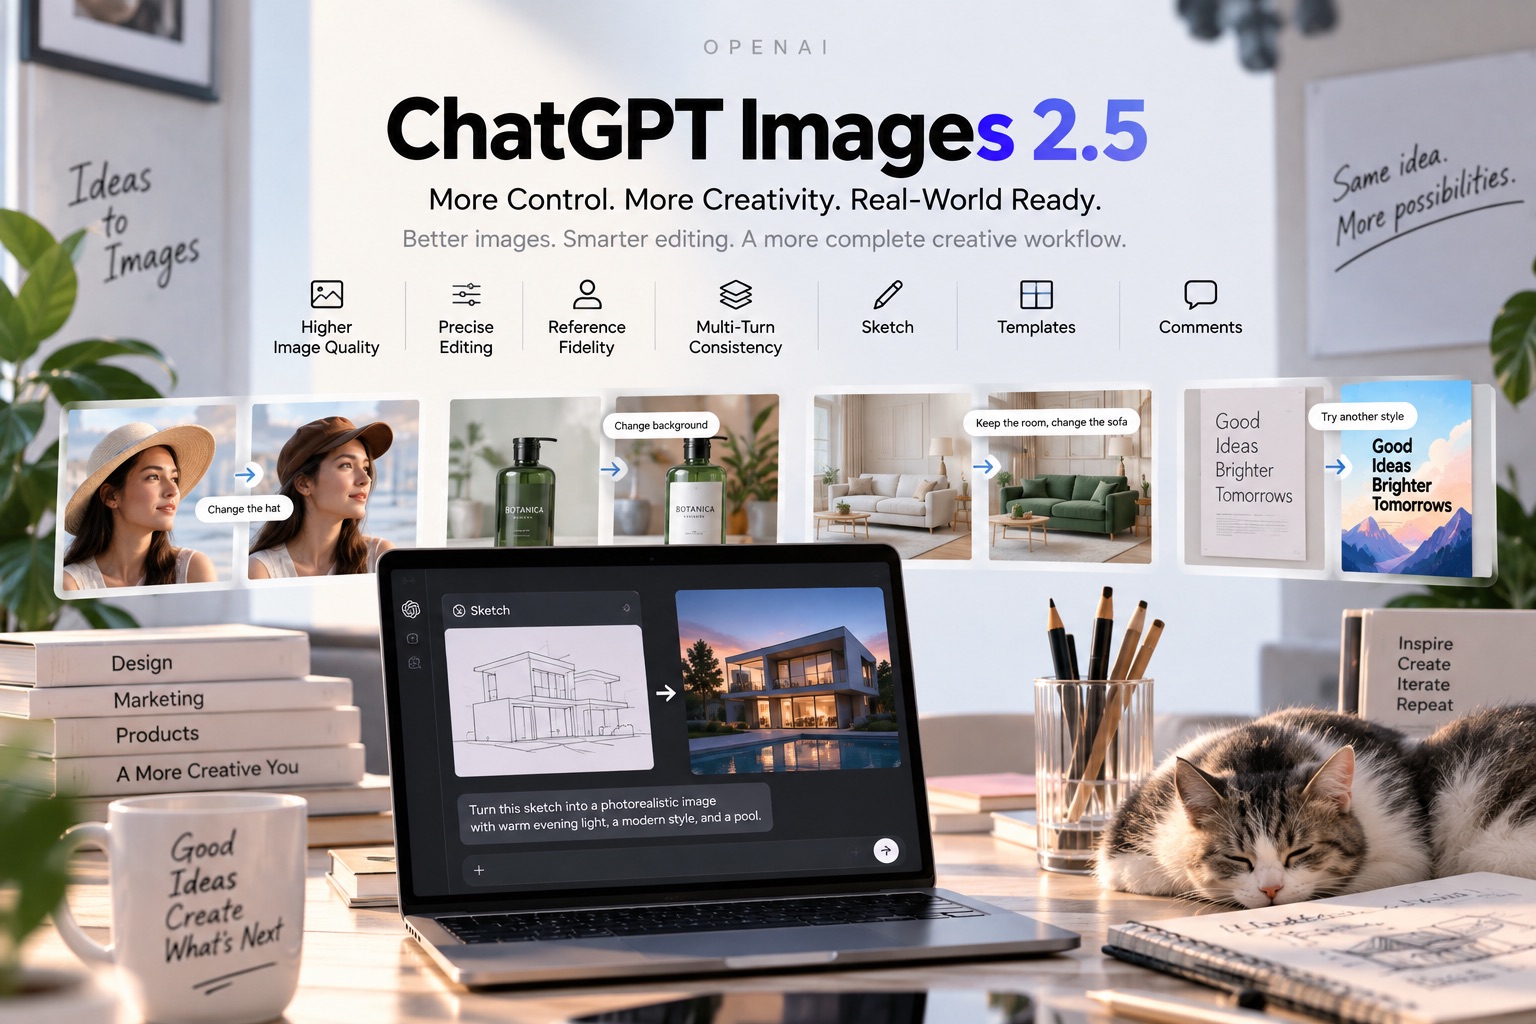
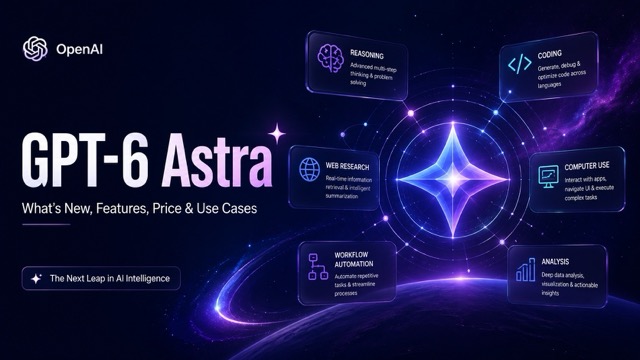
How to Use GPT-Image 2.5: A Practical Guide to Precise AI Image Editing
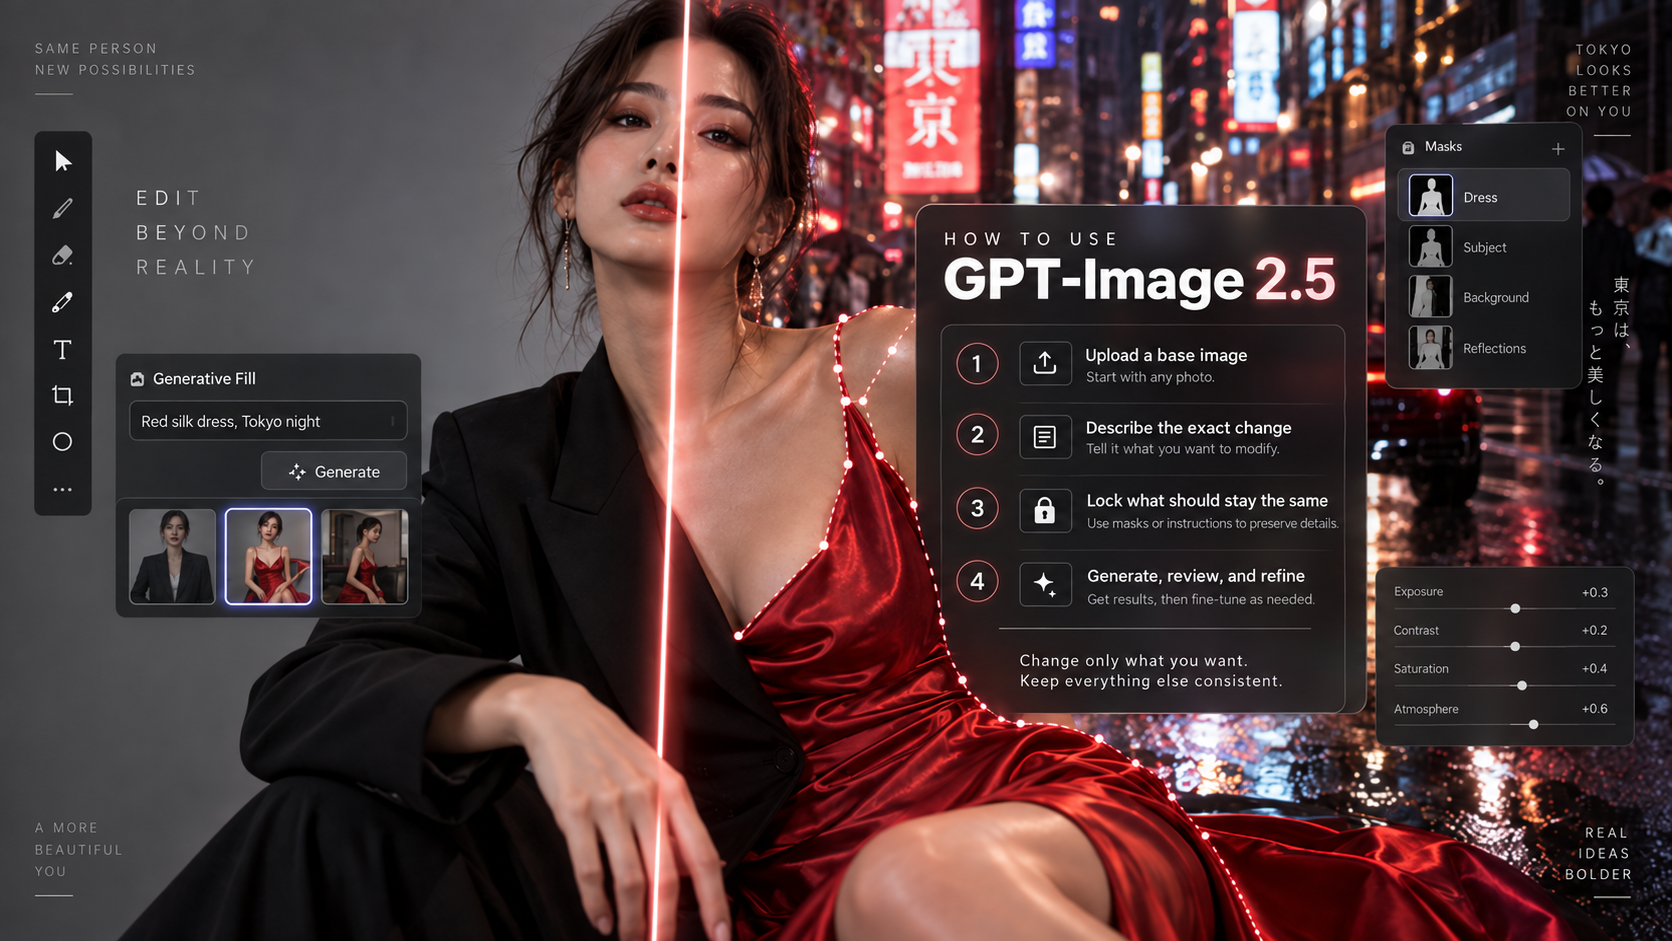
Instead of treating every request like a brand-new generation, GPT-Image 2.5 makes it much easier to work in a controlled editing loop. You can upload a source image, describe exactly what should change, and explicitly protect everything that should remain untouched.
What Makes GPT-Image 2.5 Different?
GPT-Image 2.5 transforms AI image generation from unpredictable one-shot creation into a highly controlled, boundary-aware editing workflow.
- Strict Editing Boundaries: The model modifies only the targeted detail (e.g., swapping a garment or extending an aspect ratio) while intelligently preserving the original face, lighting, and background untouched.
- Rule-Based Prompting: Users can explicitly dictate preservation rules, executing a precise "change one thing, preserve everything else" strategy tailored for consistent character work and product imagery.
- Multi-Image Role Assignment: It eliminates blend ambiguity by allowing users to assign specific hierarchical jobs to multiple reference images (e.g., Image 1 defines identity, Image 2 dictates the outfit, Image 3 sets the scene).
GPT-Image 2.5 Flare vs Sunburst
The two new API image models make the workflow even more flexible.
| Model Version | Core Difference | Best Use Cases |
|---|---|---|
| GPT-Image-2.5 Flare | Prioritizes generation speed and rapid iteration. | Social media variations, frequent A/B testing, rapid creative exploration. |
| GPT-Image-2.5 Sunburst | Prioritizes creative accuracy and high-fidelity details. | Polished product visuals, refined campaign images, complex composites. |
A simple way to think about the distinction is this: choose Flare when you need more volume and faster iteration, and choose Sunburst when you need fewer images but want each one to hold up under closer inspection.
How to Build a Professional AI Editing Workflow
A good GPT-Image 2.5 workflow starts with clarity, not complexity. The model performs best when you clearly define the visual goal, assign reference roles, and state what must not change.
1. Start with the Visual Goal
Before editing, decide what the image is supposed to become. Are you making a product ad, a portrait variation, a storyboard shot, an infographic, or a cleaned-up ecommerce asset? State the subject, the setting, the style, and the purpose. This helps the model understand the larger objective before it processes the local change.
2. Define the Protected Elements
This is the most important habit to learn. You should explicitly tell GPT-Image 2.5 what must remain unchanged. For example, instead of saying “change the jacket,” a stronger prompt is:
“Replace only the jacket. Keep the identity, pose, lighting, camera angle, hands, and background unchanged.”
This gives the model a strict editing boundary.
3. Assign Roles to Reference Images
When multiple images are involved, never leave their purpose vague. Tell the model exactly how to use them. Image 1 can be the identity reference, Image 2 the wardrobe reference, Image 3 the setting, and Image 4 the composition guide.
4. Refine One Decision at a Time
Precise editing works best when you avoid changing too many variables at once. First fix the garment. Then adjust the background. Then refine the crop or the typography. Step-by-step control almost always beats trying to solve everything in one giant prompt.
15 GPT-Image 2.5 Prompts You Can Copy
Below are 15 prompt patterns designed for precise editing. They are useful because each one clearly defines the change while also defining the limits of that change.
1. Multi-image role assignment
Image 1 = subject identity. Image 2 = outfit. Image 3 = setting. Image 4 = framing. Use each source only for its assigned role and merge them into one realistic scene.
2. Lock a base image
Lock this image as the base version. Every attribute stays fixed unless I name it directly. On future edits, touch only the variable I mention, leave everything else exactly as is.
3. Precise local editing
Edit only the [ELEMENT] I specify. Keep the surrounding anatomy, material, lighting and angle untouched. Nothing else in the frame should change.
4. Place a product into a full scene
Treat the uploaded product shot as fixed, exact shape, materials, color and branding. Drop it into [SCENE], only adjust the backdrop, light and camera angle.
5. Create A/B testing variations
Produce [N] versions of this creative. Keep product, layout, type and lighting identical across all of them. Vary only [ONE VARIABLE].
6. Change aspect ratio without cropping
Rebuild this image for [ASPECT RATIO] without cropping. Keep the subject and visual hierarchy, extend and rearrange the rest of the frame intelligently.
7. Put a UI screenshot into a promo scene
Keep the uploaded interface exactly as designed, no redesign. Place it inside a premium [DEVICE/SETTING] scene with realistic reflections, lighting and negative space.
8. Apply flat artwork to a physical product
Take the artwork in image 1 exactly as is, same composition and colors. Apply it onto [PRODUCT] the way print actually behaves on that material, following its folds and texture.
9. Build storyboard continuity
Use this as the fixed reference for character, outfit and location. Generate the next shot: [SHOT DESCRIPTION]. Only camera angle, framing and pose should change.
10. Generate a 3D modeling reference
Use image 1 as the character reference. Generate a [VIEW] full body A pose version. Keep silhouette, proportions, materials and details matched, neutral studio light.
11. Replace only one garment
Keep identity, pose, camera, lighting and background untouched. Replace only [GARMENT], using image 2 as reference for cut, material and color.
12. Edit one indoor element
Keep architecture, dimensions, perspective, doors and windows exactly as shown. Change only [ELEMENT] to [NEW VERSION].
13. Localize visible copy
Keep product, layout and lighting exactly as is. Replace only the visible text with '[NEW TEXT]', adjust background details minimally for [MARKET]. No extra text added.
14. Turn a sketch into an infographic
Turn this rough sketch into a clean [DIAGRAM/INFOGRAPHIC]. Keep every node, connection and label exactly as drawn. Only refine spacing, alignment and hierarchy.
15. Remove the background for ecommerce use
Keep the product exactly as is. Remove the background, isolate it on [transparent/plain background]. Only clean up edge artifacts, no changes to color, shape or branding.
Note: These prompts are most effective when you replace the bracketed sections with concrete instructions. If you want to experiment with your own images, you can copy these prompts into GPT-Image 2.5 on Pixomi and test how each control pattern behaves.
Final Thoughts
GPT-Image 2.5 is valuable because it shifts AI image work from broad generation toward controllable editing. Instead of repeatedly asking for “a similar image,” you can now treat one image as the approved base and issue targeted revisions against it.
The most important lesson is simple: do not just describe what you want to see. Also describe what must stay fixed. Once you build that habit into your prompts, GPT-Image 2.5 becomes a powerful, practical workflow tool for any creative team.